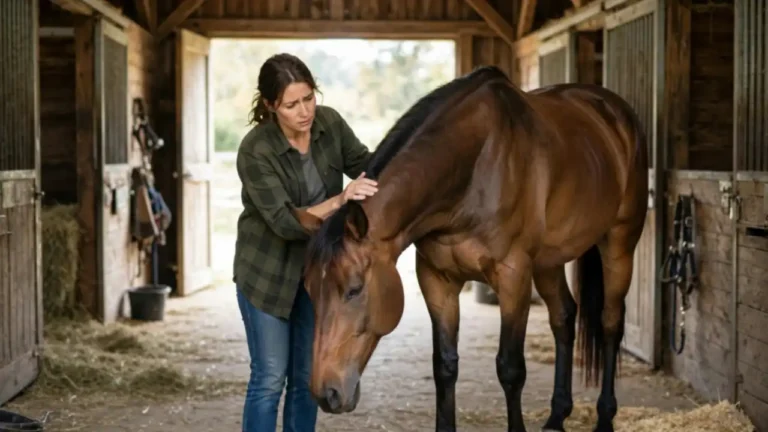
Build a Horse First Aid Kit with 21 Basics Every Barn Needs
It is always the same moment. A horse comes in from the field with a cut on his leg, blood on the feather, and everyone in the yard turns to look for supplies that are not there.
Bandages live in three different barns, the scissors are missing, and the one roll of tape is dried out. Building a Horse First Aid Kit before that day arrives turns a scramble into a calm 10 minutes of work.
A good kit is not a pile of products. It is a set of groups that each answer one kind of problem: bleeding, wounds, swelling, fevers, hoof trouble, and the small daily jobs.
This guide builds the kit group by group, 21 core items in all, then shows you how to pack it, store it, and keep it ready. The packing itself takes about 45 minutes.
Being ready like this pairs well with knowing the early warning signs; our guide to colic signs in horses covers the checks to run while a helper brings the kit. More reads live in our horse health and first aid collection.
What You Need
- A sturdy box with a lid that closes tight, big enough for bandages
- The 21 items in the steps below, grouped in clear zip bags
- A marker and labels, or tape and a pen
- A notebook page for vet numbers and your horse’s normal readings
- A phone, to save the vet’s number and a photo of the finished list
At a Glance
- Lay out the bandaging group first
- Add the wound cleaning group
- Pack the tools group
- Add cold and heat helpers
- Build the hoof group
- Finish with the everyday basics
- Store the kit and set a check date
Before and After: What Changes
Before
- Supplies scattered across cars, barns, and coat pockets
- Tape dried out, bandages dusty, scissors missing
- Nobody knows the vet’s out-of-hours number
- A small cut turns into a yard-wide hunt
After
- One box, one place, grabbed with one hand
- Every group packed, labelled, and in date
- Vet numbers and normal readings ride inside the lid
- First care starts in minutes, calmly
Lay Out the Bandaging Group First
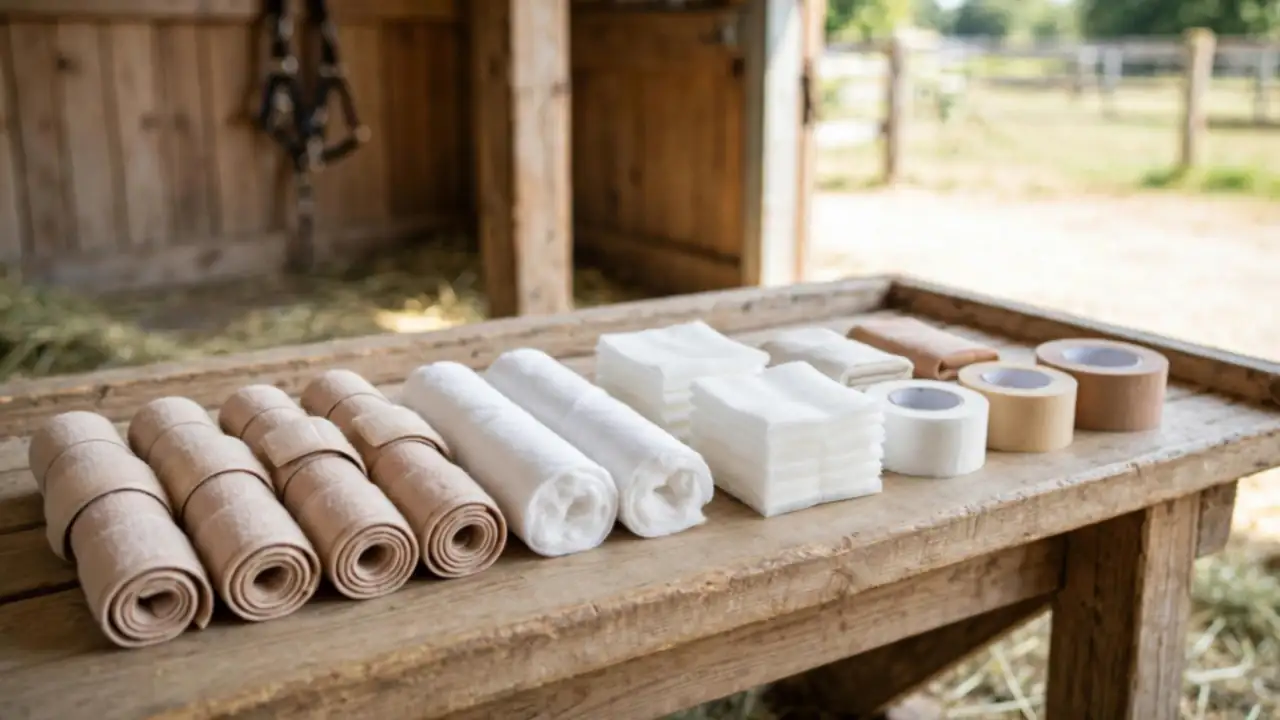
Start with the group you will reach for most. Put in 4 rolls of self-sticking bandage wrap, 2 rolls of cotton padding, a pack of non-stick gauze dressings in 2 sizes, and a roll of strong adhesive tape.
Add a pair of bandage scissors with a flat blade, made for sliding under a wrap. Count this group as you pack: wrap, padding, dressings, tape, scissors make 5 core items. Keep them together in one large zip bag labelled “Bandages”, so a helper can carry the whole group to the horse in one trip.
Add the Wound Cleaning Group
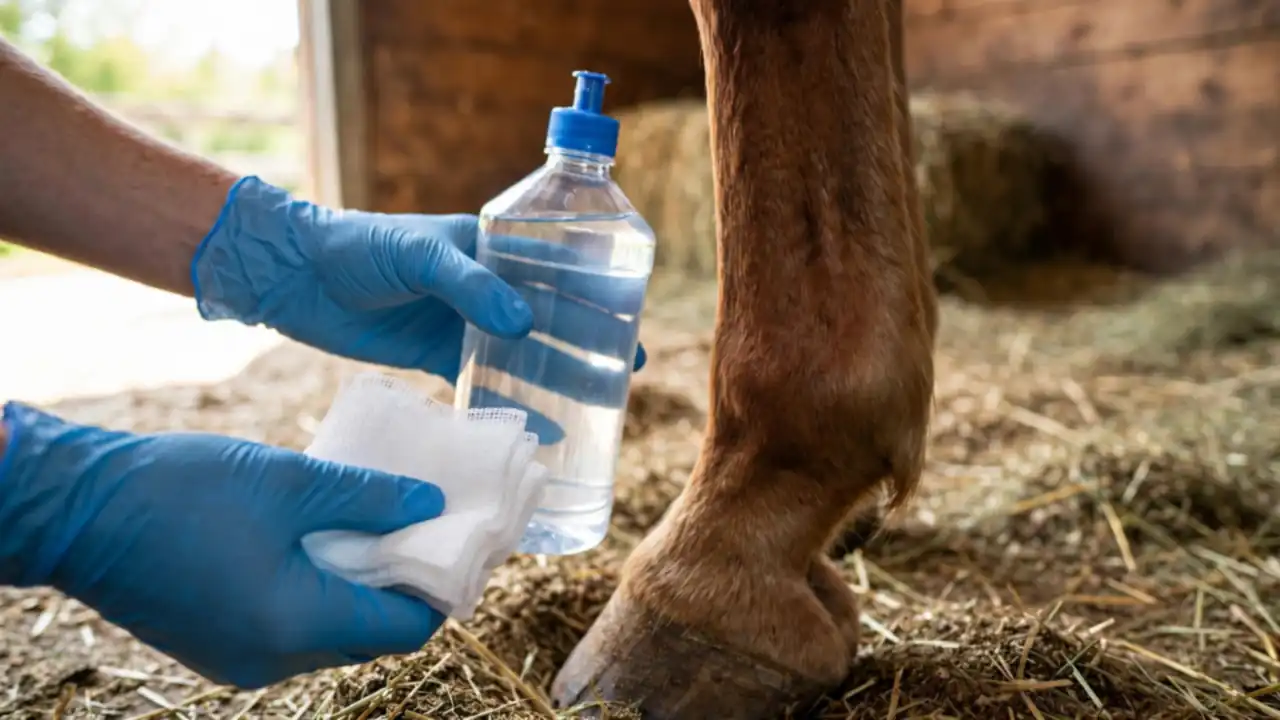
Next, the cleaning group: a bottle of saline wound wash, a small bottle of dilute antiseptic scrub, and a pack of gauze swabs. These 3 items handle the first job at any cut, which is washing away dirt so you can see what you are dealing with.
Add a clean syringe of about 20 ml for flushing a wound with a gentle stream; it gives better reach than pouring. Pack this group right beside the bandages. Skip home remedies and strong chemicals here. Most wounds need clean water, a mild wash, and a vet’s eyes, in that order.
Pro Tip: Pack the kit in the order you will use it: cleaning on top, bandaging under it, tools in the lid. In a rush, your hands follow the layers without thinking, and nothing gets dumped on the ground.
Pack the Tools Group
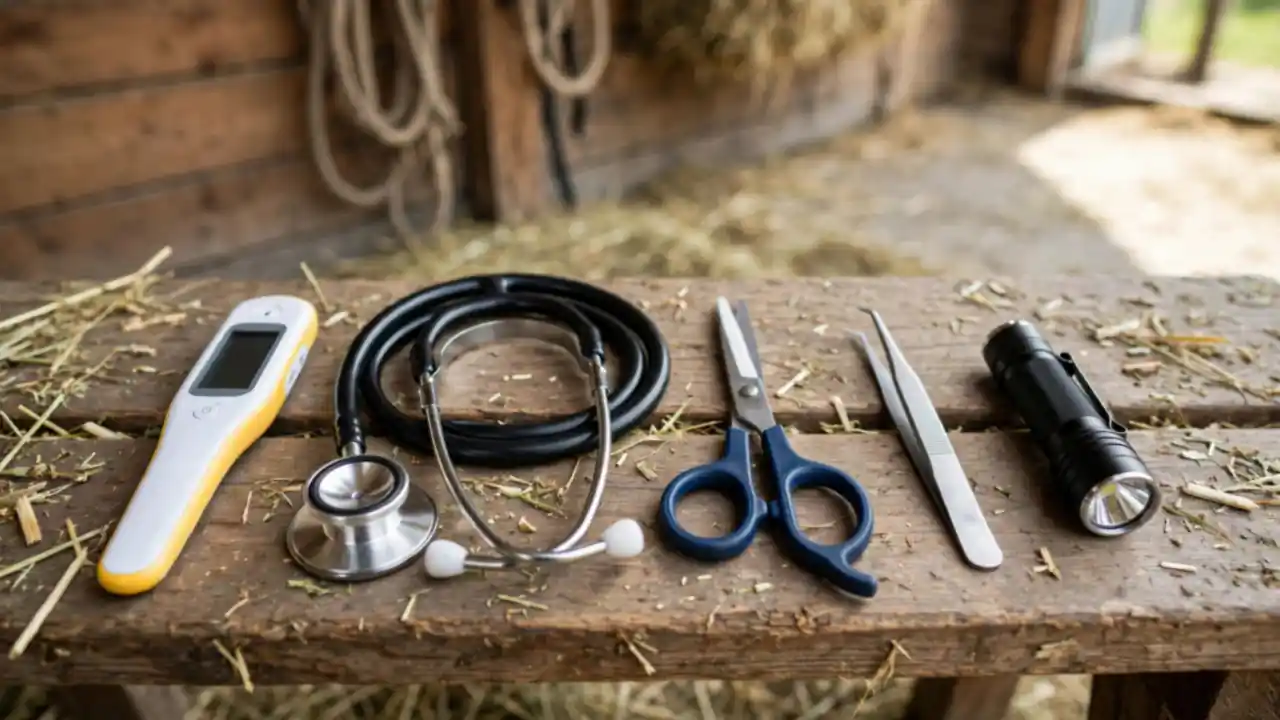
Tools turn guesswork into numbers. A digital thermometer tells you if a dull horse is running a fever; normal sits around 99 to 101.5 degrees Fahrenheit. A stethoscope lets you hear gut sounds and count a heart rate without guesswork.
Add blunt-ended tweezers for ticks and splinters, and a small flashlight for mouth checks and dark corners. That is 4 tools. Reading numbers to a vet on the phone changes the advice you get, and vets say so often; any good equine first aid guide puts a thermometer at the top of the list.
Add Cold and Heat Helpers
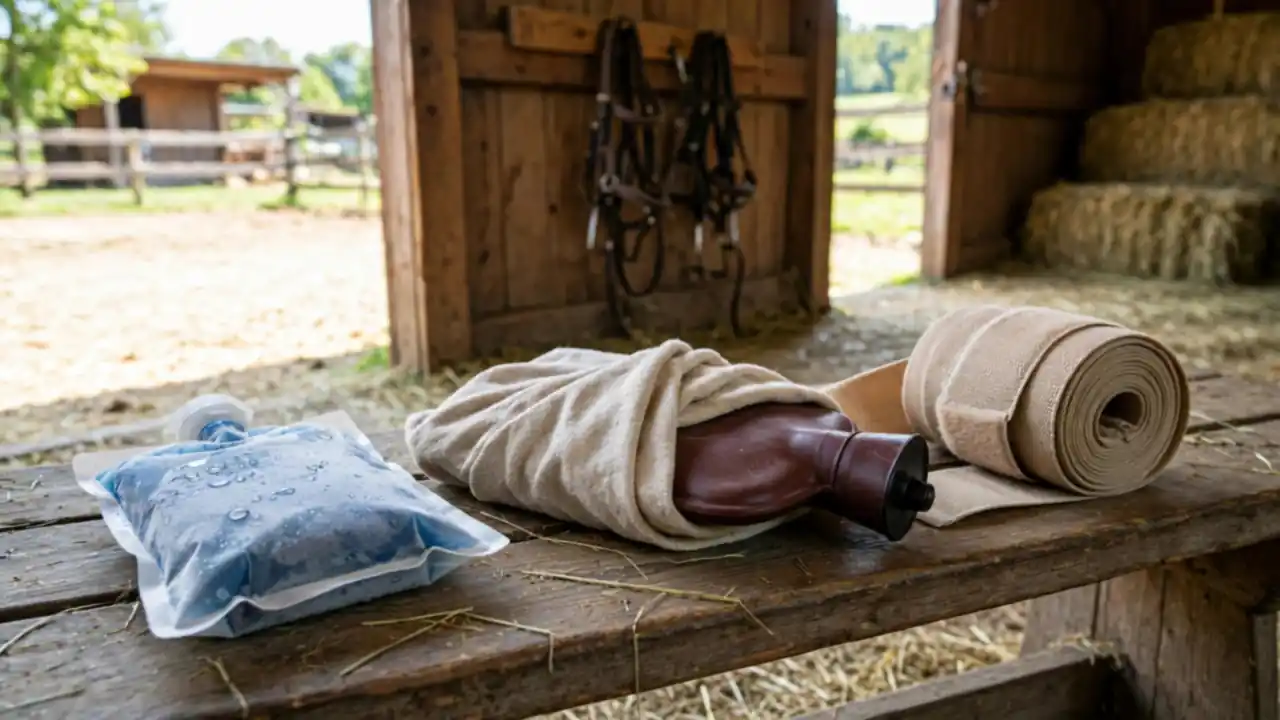
Knocks and strains call for cold first. Keep 2 instant cold packs in the kit, the kind you squeeze to start, plus a clean stable bandage to hold one in place over a leg.
Add a small hot water bottle or a heat pack for stiff backs and warming a chilled horse under your vet’s advice. Count the cold packs and the heat pack as 2 items. Cold early limits swelling, and swelling is what turns a one-day rest into a week off work.
Build the Hoof Group
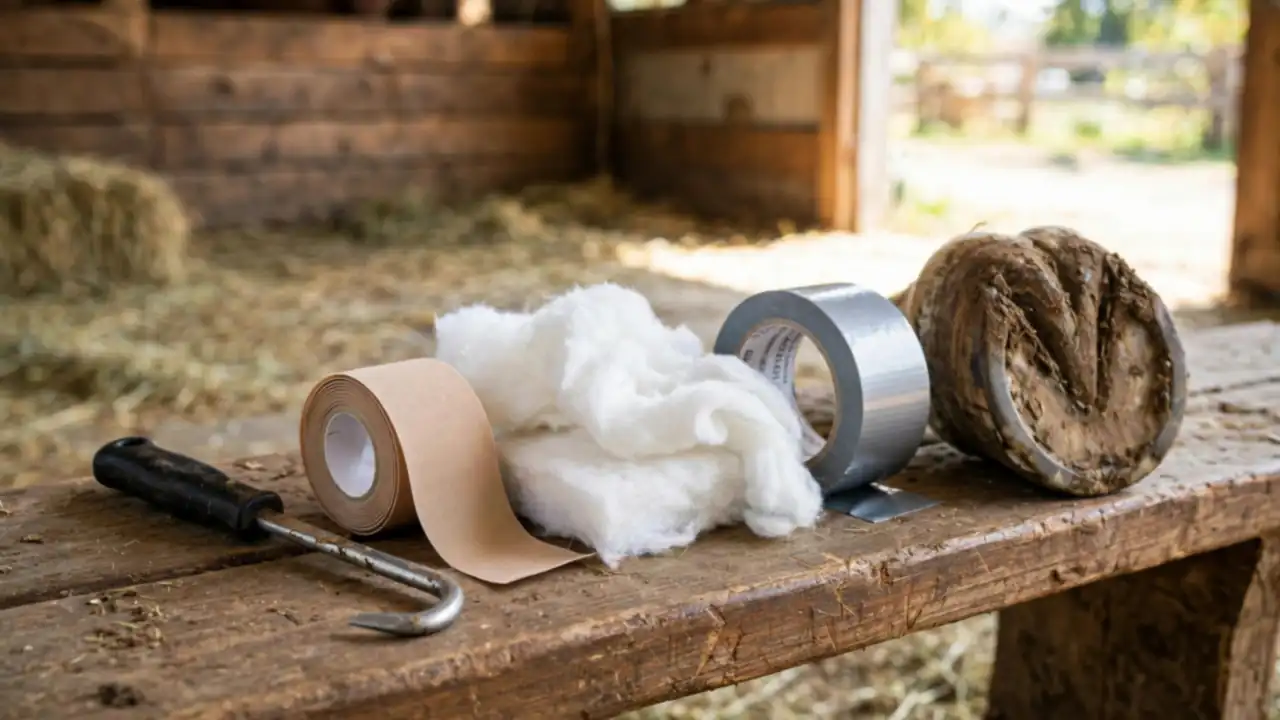
Feet cause their own emergencies: a loose shoe, a stone bruise, a lost chunk of hoof wall before the farrier comes. Pack a hoof pick, a roll of hoof tape or strong duct tape, and a pad of cotton or a folded nappy-style pad for padding.
Those 3 items let you clean, pad, and wrap a foot so a horse can stand and walk in comfort until help arrives. Keep this group in its own small bag; hoof gear gets dirty, and dirty gear should never ride against clean bandages.
Finish with the Everyday Basics
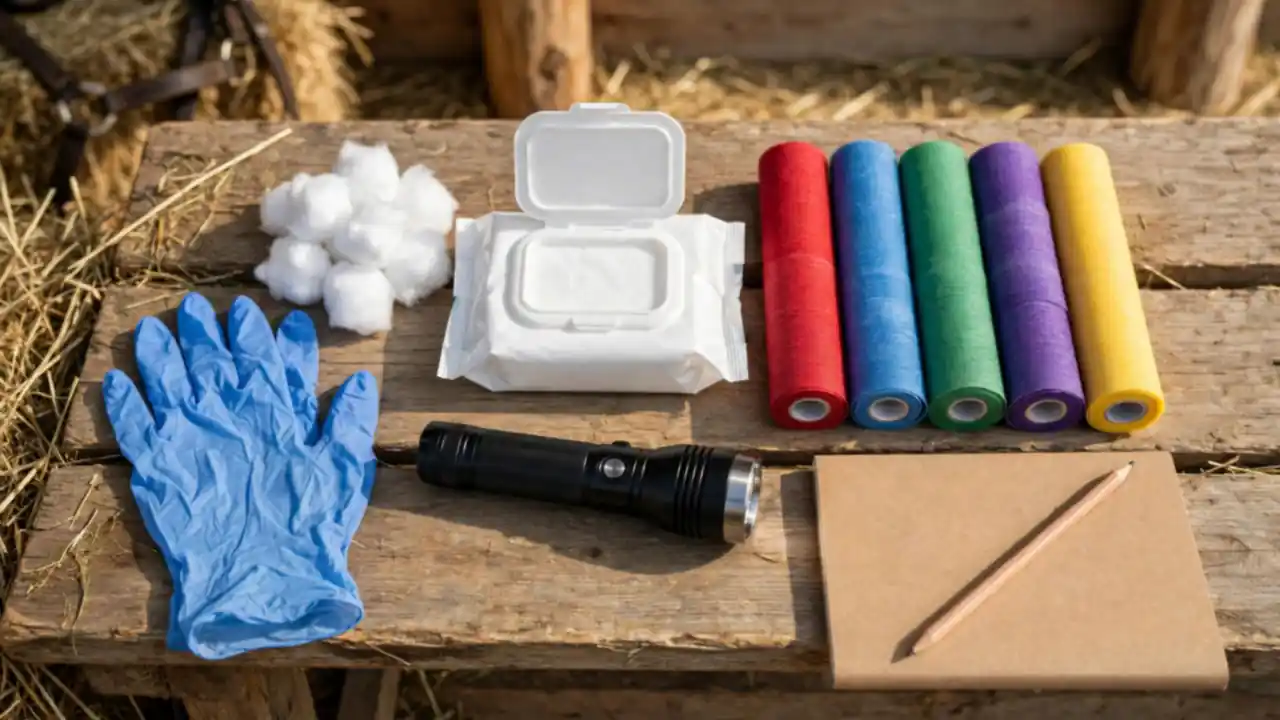
The last group holds the bits that get used weekly, not yearly: a box of disposable gloves, antiseptic wipes, cotton balls, and a spare lead rope. Add the notebook page from the What You Need list, filled in with your vet’s day and night numbers and your horse’s normal temperature, pulse, and breathing rates.
Count these as 5 items, which brings the kit to its 21 core items in all. The notebook page matters more than it looks: in a panic, nobody remembers normal numbers, and the vet’s first questions are always the same ones.
Store the Kit and Set a Check Date
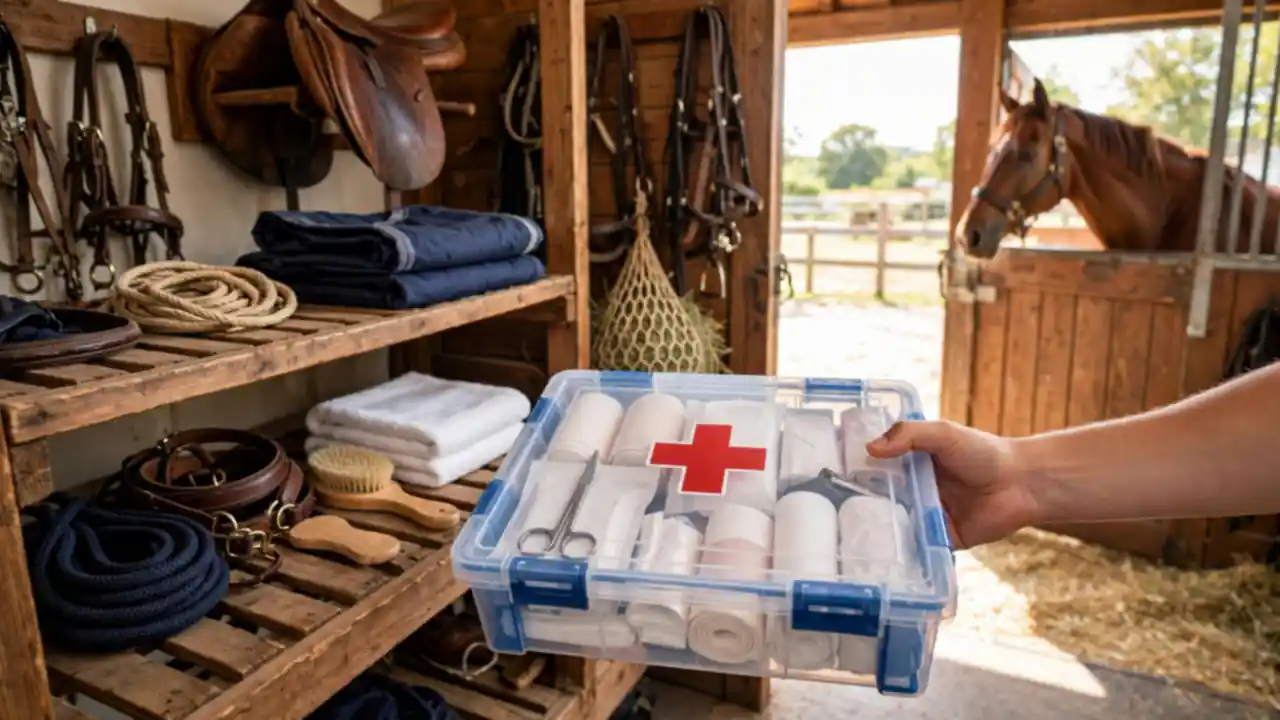
Close the box and put a contents list inside the lid, with the date you packed it. Store the kit in a dry tack room where everyone on the yard can find it, and tell every helper where it lives.
Then set a date 6 months ahead to check it: replace used items, swap out anything past its date, and test the thermometer battery. Restock the same day you use something, before the box goes back on the shelf.
Common Mistakes to Avoid
Stocking medicines you were never told to use
Leftover medicines from an old case can harm a new one and hide the signs a vet needs to see. Keep medicines out of the general kit unless your vet has named them for that horse, with the dose written down.
Buying one huge ready-made box and never opening it
Big pre-packed kits look complete, yet half the contents may be items you will never use, in sizes that do not suit horses. Building your own group by group means every item earns its space.
Letting the kit live in a car boot
Heat, cold, and damp ruin wraps, tapes, and batteries. Store the box in the tack room, and carry a small travel copy in the trailer instead.
Restocking “later”
Later rarely comes. The bandage you used on Saturday is the one missing on Sunday. Replace used items the same day, or write them on the lid list in marker so the gap is visible.
Frequently Asked Questions
How much does it cost to build a horse first aid kit?
The basics in this guide are plain barn supplies, and most owners can build the full kit for about the cost of one or two bags of feed, less if wraps and tools are already in the tack room. Buy the bandaging and cleaning groups first if you spread the cost.
Should the kit include prescription medicines?
Only ones your own vet has prescribed for that horse, with clear written notes on when and how much to give. When in doubt, leave it out and call the vet; the kit’s job is cleaning, covering, cooling, and measuring.
Do I need a second kit for the trailer?
A small travel kit is a smart extra: 2 wraps, dressings, tape, a hoof pick, tape for a loose shoe, and your vet’s number. It covers the road while the main box guards the yard.
How often should I check the kit?
Every 6 months at least, and after every use. Check dates on anything liquid, test the thermometer, and replace wraps that have lost their stick or padding that has gone flat and dusty.
Where is the best place to store it?
One fixed spot in a dry tack room, off the floor, out of direct sun, and known to everyone who handles the horses. Tell new helpers on their first day; a kit nobody can find is not a kit.
Quick Reference Card
The 21 core items, by group:
- Bandaging (5): wrap rolls, cotton padding, non-stick dressings, adhesive tape, bandage scissors
- Wound cleaning (4): saline wash, antiseptic scrub, gauze swabs, flushing syringe
- Tools (4): thermometer, stethoscope, tweezers, flashlight
- Cold and heat (2): instant cold packs, heat pack
- Hoof (3): hoof pick, hoof tape, padding
- Everyday basics (5): gloves, antiseptic wipes, cotton balls, spare lead rope, vet numbers notebook page
Routine: pack in use order, list in the lid, store dry in the tack room, check every 6 months, restock the same day you use anything.
Your Horse First Aid Kit is now built the way a working yard actually uses one.
One box, packed in groups, with the numbers your vet will ask for riding inside the lid.
Build it this week, before the day that sends everyone hunting for bandages.
Save this checklist on Pinterest and share it with your barn group so every yard is ready.