
Build Horse Stalls That Are Safe, Sturdy, and Quick to Clean
Your horse has no proper stall, and every night you worry about the open bay, the draught, and the loose boards. This guide shows you how to Build Horse Stalls that are safe, sturdy, and quick to clean, using timber, a few tools, and one free weekend.
A good stall gives your horse a dry place to rest, a safe place to eat, and walls that stand up to kicking and chewing. It also makes your daily routine shorter, because feeding, mucking out, and checking your horse all happen in one tidy space.
The method here builds one stall inside an existing barn, and it works for a first-time builder. You will measure and mark the space, set four posts, board the walls, hang a door, lay the floor, and finish with a full safety check. One stall takes about a weekend of work, and the skill level is beginner.
Before you start, check the rules where you live. Some areas need a permit for barn work, and your barn’s own structure may set limits on what you can change. A quick call to your local building office settles it, and it is worth doing before you buy timber.
Stall size depends on the horse, so if you are still choosing one, read our guide to the best horse breed for beginners before you buy timber.
TOTAL TIME
A weekend for one stall
ACTIVE TIME
About 8 hours
DIFFICULTY
Beginner
What You Need
- Tape measure and pencil
- Spirit level, 4 foot long
- String line and chalk
- Circular saw or handsaw
- Drill, drill bits, and screws
- Treated timber posts, 4 x 4 inch
- Tongue-and-groove boards, untreated hardwood
- Stall door hinges, latch, and grill bars
- Rubber stall mats, 3/4 inch thick
- Straw or shavings for bedding
- Water bucket with a fixing clip
- Feed manger, gloves, and eye protection
At a Glance
- Measure the bay and mark the stall lines
- Set the posts and build the frame
- Board the walls with tongue-and-groove timber
- Hang the door and fit the grill
- Lay stall mats and spread the bedding
- Fit the water bucket and feed manger
- Walk the stall and check every edge
Before and After: What Changes
Before
- A bare bay with no walls and no door
- The horse stands in a draught at night
- Feed and water are carried across the yard
- Loose boards and open edges everywhere
After one weekend of work
- Solid walls, a door that latches, and a grill
- The horse rests dry, out of the draught
- Water and feed sit in place in the stall
- Deep bedding and mats underfoot
Measure the Bay and Mark the Stall Lines
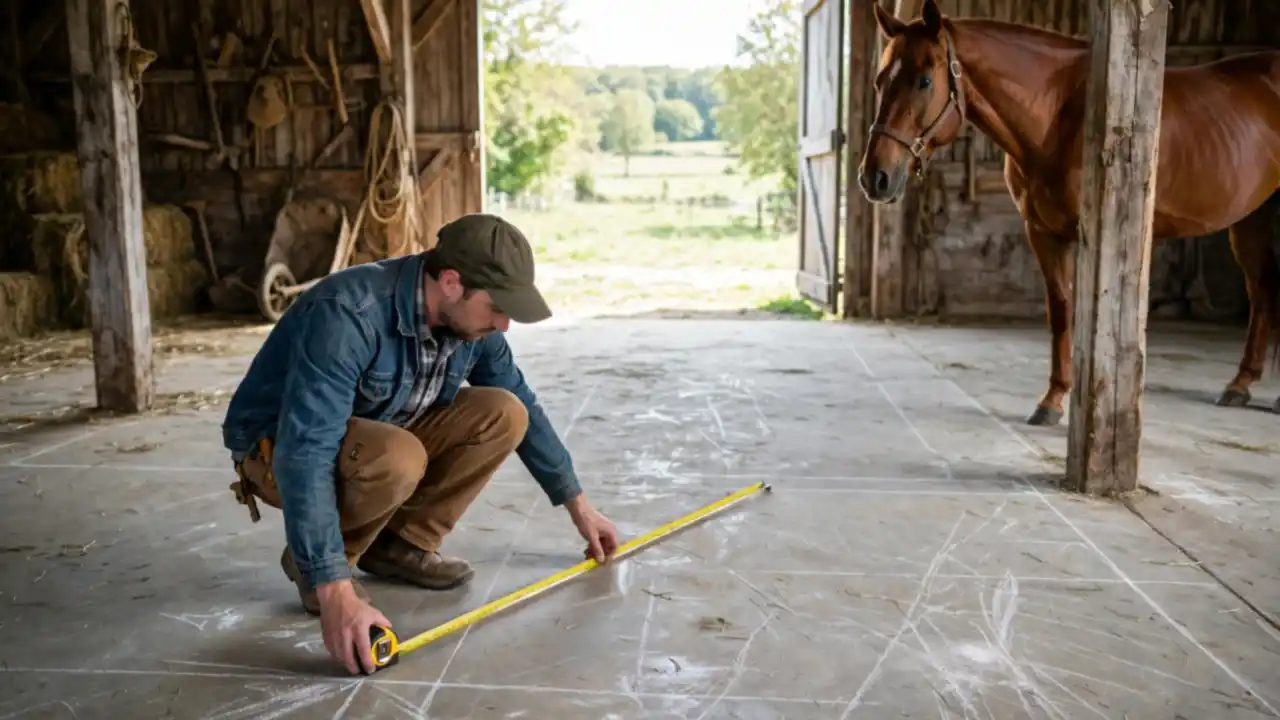
A 12 x 12 foot stall suits most horses, from a 14 hand pony to a 16 hand riding horse. Measure the bay twice, then mark the stall lines on the floor with chalk or a string line.
Check the floor is level with a spirit level, and mark where the door will go. A door opening of 4 feet wide lets you lead a horse in without squeezing past the frame, and it leaves room for a wheelbarrow. If the floor slopes, plan to level it now, before any timber goes in.
Set the Posts and Build the Frame
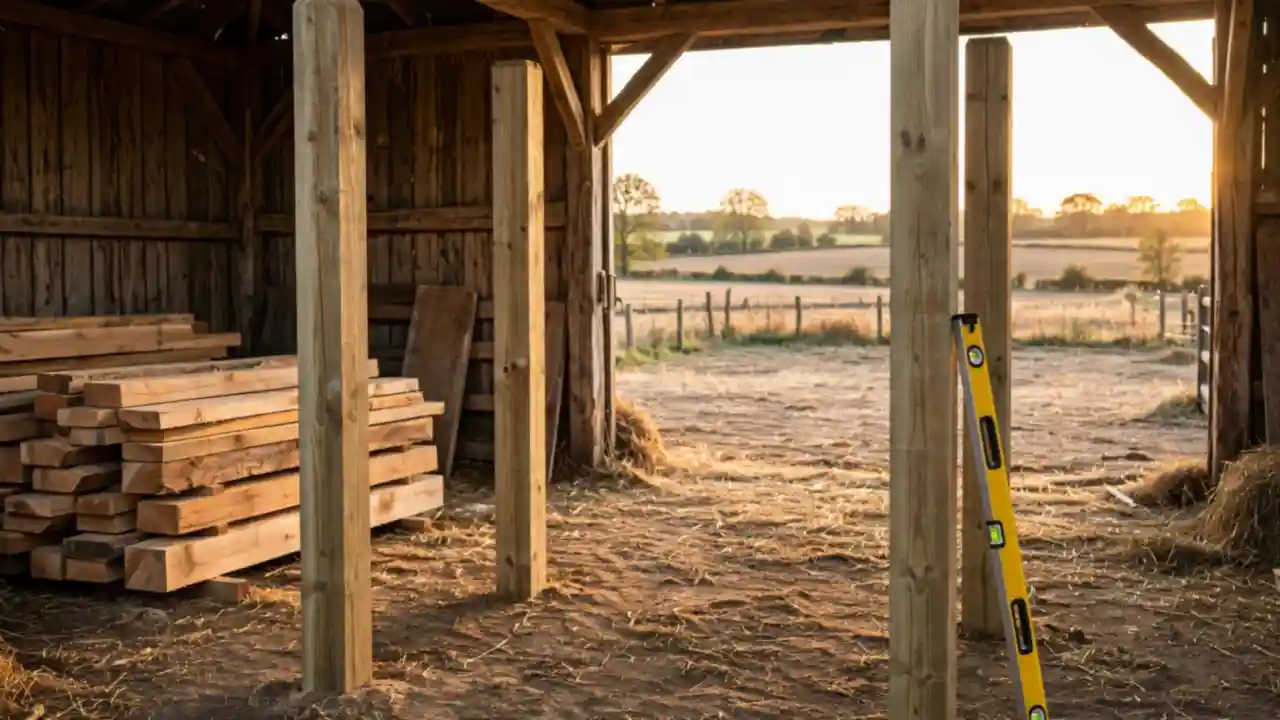
Four posts carry the whole stall, so set them right. Use 4 x 4 inch treated posts at the four corners of your marked lines.
Sink each post 2 feet into the ground, or bolt it to a base plate on concrete. Check each post with a spirit level on two sides, and brace it while the concrete sets. A post that leans now will pull the whole wall out of line later.
Board the Walls with Tongue-and-Groove Timber
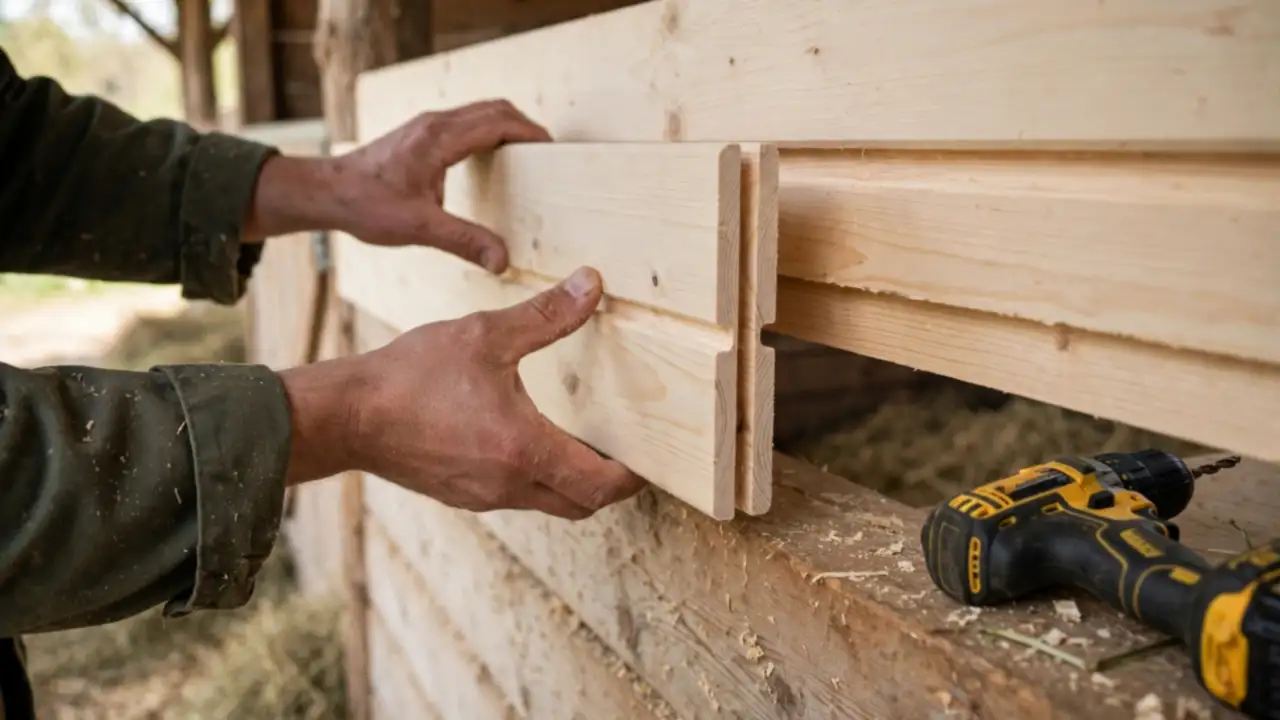
When the frame is level, start at the bottom and work up, fitting each board into the groove of the one below it. Fix every board with two screws at each post, and keep the smooth face toward the horse.
Leave no gaps wider than a finger, because a hoof can catch in a gap and a horse can panic. Stagger the joints so they do not line up in one straight column, which weakens the wall. A wall of boards 8 feet high keeps most horses in, and it lets air move over the top.
Heads Up: Horses chew wood. Pressure-treated timber is fine for posts set in the ground, but the boards a horse can reach should be untreated hardwood, or covered with a metal chew strip. A horse that chews treated boards can swallow chemicals, so check the inside face of every wall before you call the stall done.
Hang the Door and Fit the Grill
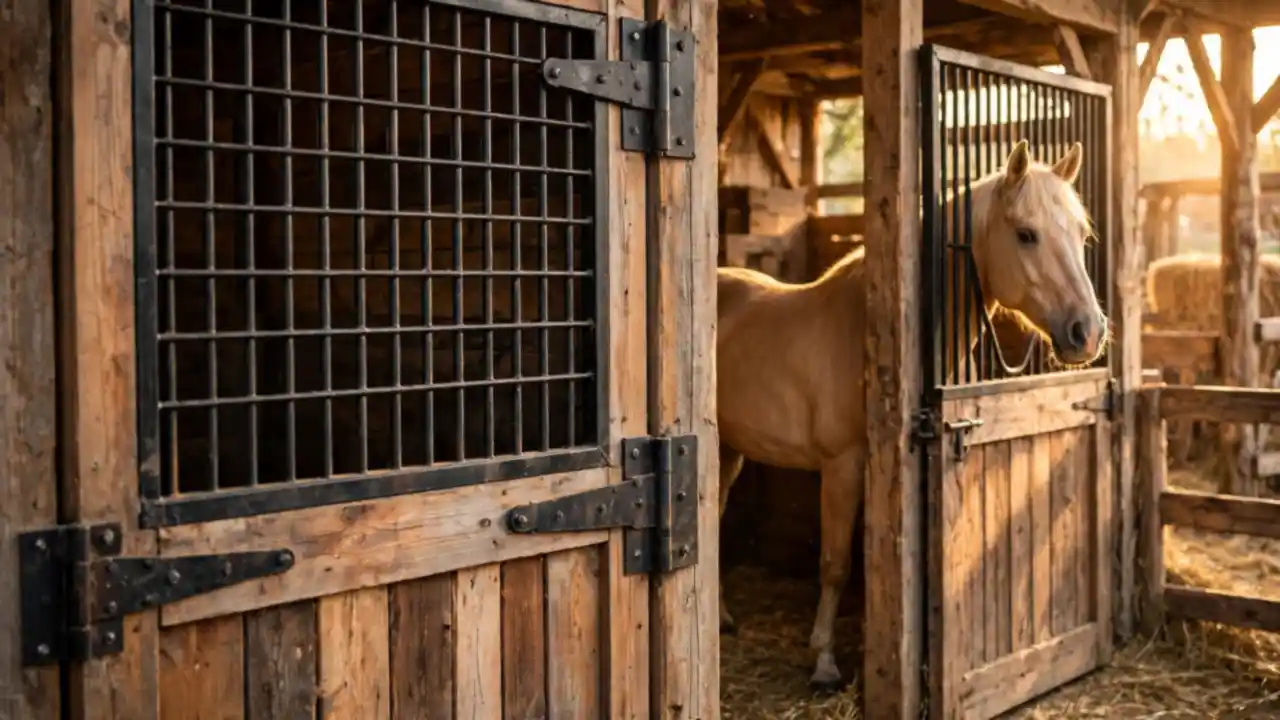
The door takes the most wear of any part of the stall, so give it a strong fixing. Hang a door 4 feet wide and 7 feet high on heavy hinges screwed into the post, and check it swings freely without scraping the floor.
Fit a grill of steel bars across the top half so your horse can see out and air can move through. Test the latch with a firm push from inside, because a horse will lean on it, and a latch that opens under a push will fail at midnight.
Lay Stall Mats and Spread the Bedding
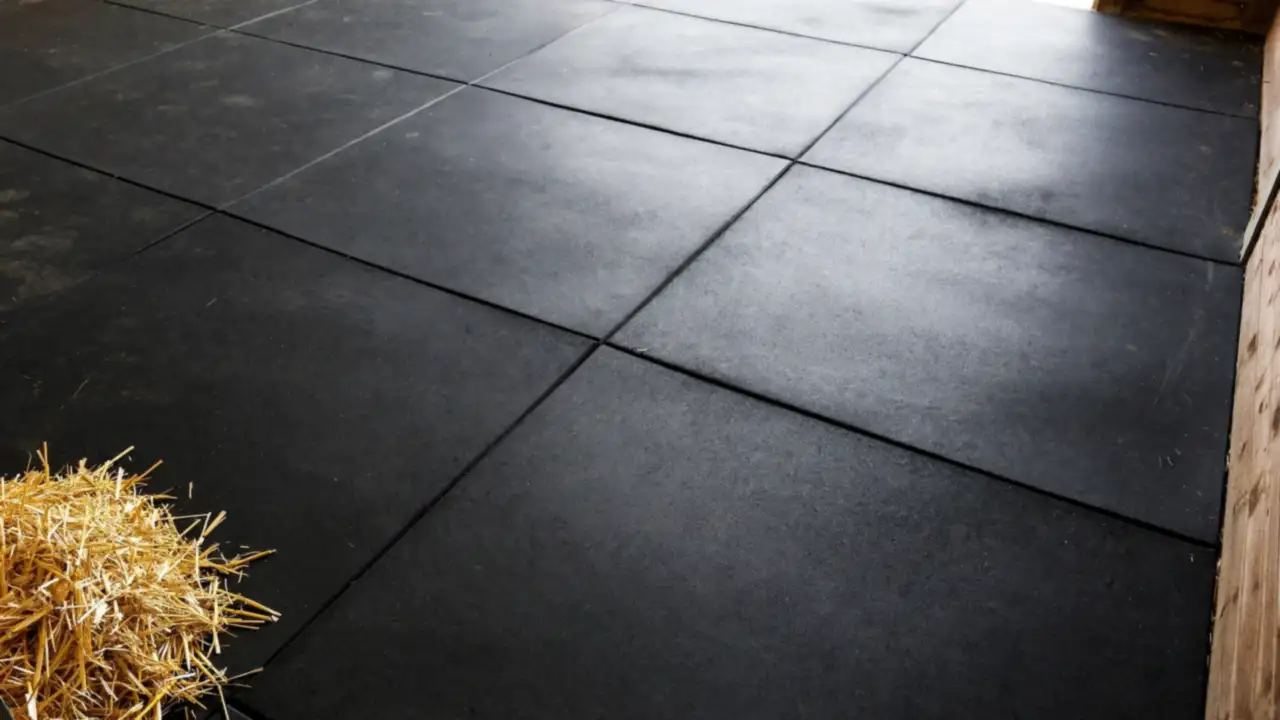
A hard floor bruises hooves and wears thin, so cover it before the horse moves in. Sweep the floor clean, then lay rubber stall mats edge to edge with no gaps.
A mat 3/4 inch thick cushions the hooves and stops the floor from wearing through. Cut the last mat to fit with a sharp knife, and press the corners flat. Spread straw or shavings 4 to 6 inches deep, thicker at the back where the horse lies down.
Pro Tip: Lay the mats on a dry day and leave a gap of a finger’s width at the walls. Mats swell a little in damp weather, and a tight fit will buckle in the middle.
Fit the Water Bucket and Feed Manger
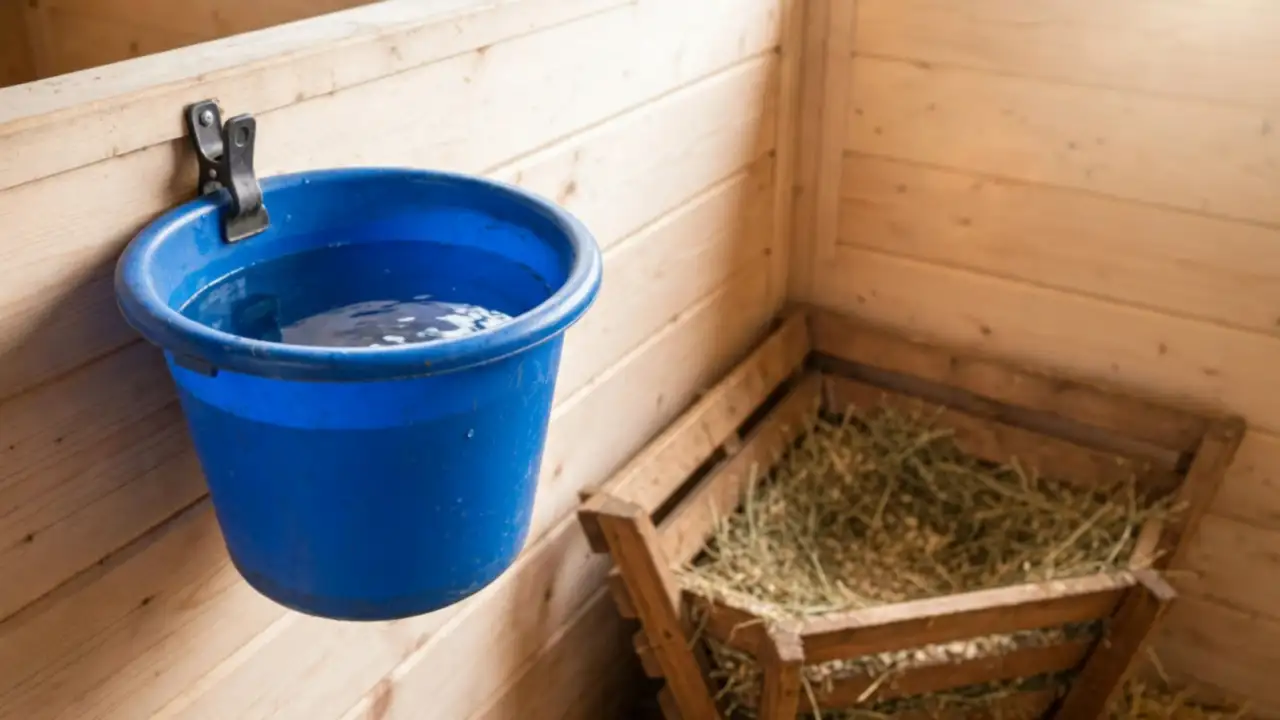
Hang the water bucket at chest height, about 3 feet from the floor, so the horse drinks without straining its neck. Fix it with a clip the horse cannot lift off, in a corner away from the door.
Mount the feed manger in the opposite corner at the same height, and check the rim for sharp edges with your hand. Leave a clear path between the two so the horse can move without knocking either one over.
Walk the Stall and Check Every Edge
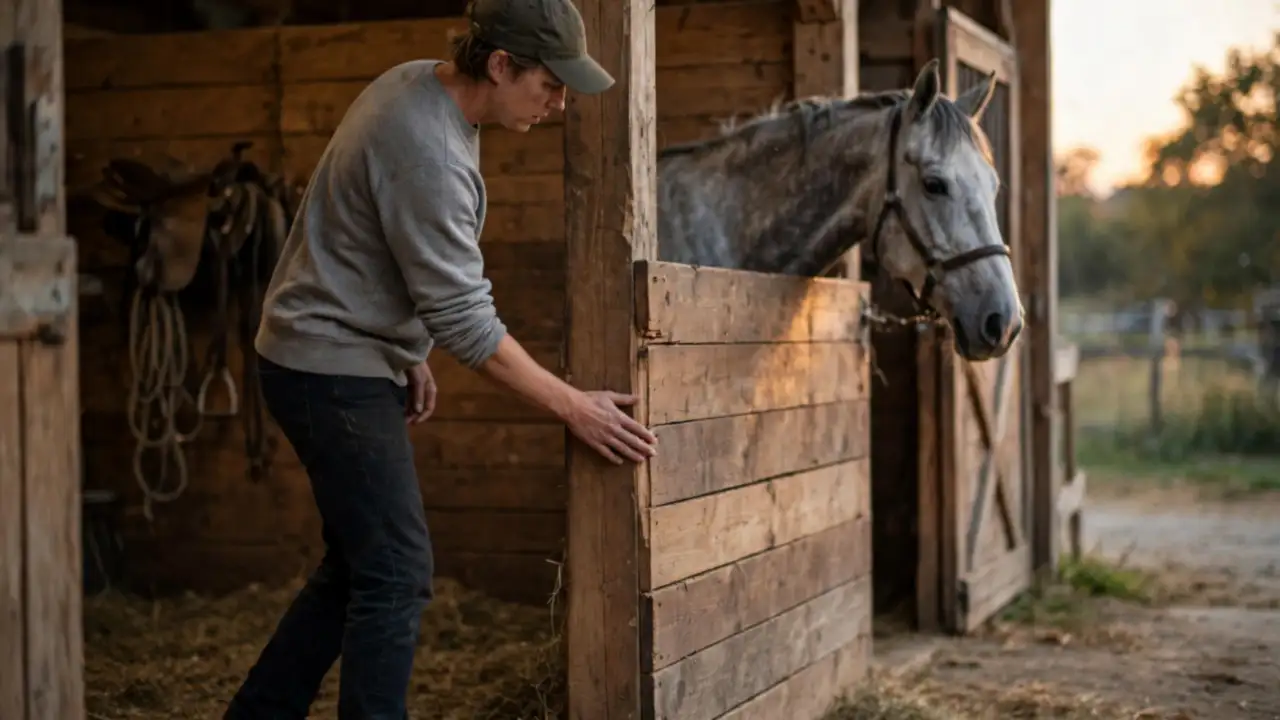
Your palm finds what your eyes miss. Run your hand along every wall, feeling for nail heads, screw tips, splinters, and sharp board ends, and file or cover anything that catches.
Pull the door shut and push it from inside to test the latch, then check the grill bars are tight and the mats lie flat. A stall that passes your hand will pass your horse, and a 10 minutes check now saves a vet call later.
Keep a horse first aid kit in the barn while you work, so a cut or splinter can be dealt with at once.
Common Mistakes to Avoid
- Building the stall too small — A 10 x 10 foot stall cramps a 16 hand horse. Build 12 x 12 feet as a minimum for a full-size horse, and bigger for a draught breed.
- Leaving gaps between the boards — A hoof can catch in a gap of even an inch. Boards should sit tight, with no gap wider than a finger.
- Fitting a latch a horse can open — Horses learn latches fast. Use a latch with a bolt and a safety catch, and test it with a firm push from inside.
- Forgetting air flow — A sealed stall traps damp and ammonia. Leave the top of the walls open or fit a grill, and check the barn roof vents are clear.
Frequently Asked Questions
How big should a horse stall be? — 12 x 12 feet suits most riding horses. Ponies can manage with 10 x 10 feet, and a large draught horse needs 14 x 14 feet or more. Measure your horse before you buy timber.
Can I build a stall inside an existing barn? — Yes. This guide builds one stall inside a bay of an existing barn. On a concrete floor, bolt the posts to base plates. On an earth floor, sink them 2 feet deep.
What wood is safest for a stall? — Untreated hardwood for any board the horse can reach, because horses chew. Treated timber is fine for posts set in the ground, away from teeth. Avoid plywood on the inside face, as it splinters when kicked.
How long does one stall take to build? — A first-time builder needs about a weekend, with roughly 8 hours of hands-on work. Cutting and fitting the boards takes the most time, so measure twice and cut once.
Do I need a permit to build a stall? — It depends on where you live. Some areas need a permit for any barn work, and some do not. Call your local building office before you buy materials, and keep the answer in writing.
Quick Reference Card
You need: tape measure, spirit level, saw, drill and screws, 4 x 4 inch posts, tongue-and-groove boards, door hinges and latch, grill bars, stall mats, straw or shavings, water bucket, feed manger.
The build (about a weekend):
- Measure and mark a 12 x 12 foot stall, door opening 4 feet wide
- Set four 4 x 4 inch posts, 2 feet deep or bolted, level on two sides
- Board the walls to 8 feet high, smooth face in, no gaps
- Hang the 4 x 7 foot door on the posts, fit the grill, test the latch
- Lay 3/4 inch mats, bed 4 to 6 inches deep
- Hang the bucket and manger at 3 feet, clear path between
- Hand-check every edge, test the latch, allow 10 minutes for the check
You set out to Build Horse Stalls that are safe, sturdy, and quick to clean, and now the first one stands ready in your barn.
Your horse has a dry place to rest, and your daily jobs happen in one tidy space.
Move your horse in on a calm morning, and give it a short session of groundwork exercises for beginners so it learns the new space calmly.
A good stall is only part of the job, and our guide to the 20 qualities of a good horse owner covers the rest of the daily routine.
Save this guide on Pinterest so it is waiting for you when the timber arrives.